Covid-19 Project: Basement Garden
Being trapped at home all day can really take a toll on a person. Especially, when you are used to visiting customers or leaving the house. With summer coming to an end and winter ramping back up, I needed to find something to do indoors. I like fresh vegetables so...
Prerequisites
- Low maintenance - I did not want to pick weeds, worry about temperature, water, etc.
- Low cost - After the initial investment, ideally this project would pay for itself in time.
- Easy to build
- No soil!
Materials
- Net pots
- Heavy duty tote
- Grow tent
- Grow light
- Plant nutrients
- 6 ft. 3/8" PVC
- Sprinkler Heads
- Rock wool
- Clay Growing Medium
- Temperature and Humidity Sensor (came with grow light)
- Interval Timer and Standard Timer
The Plan
Start small and low risk; both financially and with time.
The build plan is actually simple and straight forward. Firstly, drill out holes large enough in the bin lid in order hold the net pots. Then, build out a high(ish) pressure water system within the bin to feed the plants. This will cover both the water of the plants and feeding the soil nutrients. Now, just get two timers - one of the pump and one for the light - and a grow tent to contain the project. Buy a grow light for your source of "natural" light.
Once built out, in theory, all that will be required is filling up the system with nutrient rich water.
But, How Will the Plants Survive?
The growing philosophy behind this project is called Aeroponics.
Aeroponics is the process of growing plants in an air or mist environment without the use of soil or an aggregate medium. The word "aeroponic" is derived from the Greek meanings of aer (ἀήρ, "air") and ponos (πόνος, "labour"). Aeroponic culture differs from both conventional hydroponics, aquaponics, and in-vitro (plant tissue culture) growing. Unlike hydroponics, which uses a liquid nutrient solution as a growing medium and essential minerals to sustain plant growth, or aquaponics, which uses water and fish waste, aeroponics is conducted without a growing medium.[1][failed verification] It is sometimes considered[by whom?] a type of hydroponics, since water is used in aeroponics to transmit nutrients.
Source: wikipedia. Read the wikipedia site to find out more on the history, benefits and drawbacks of this type of system.
The Costs
Overall, the total cost is under 500 CAD. The light, tent and nutrients cost ~250 CAD themselves. The remainder of the parts make up the rest of the cost. All the parts were ordered between AliExpress and Amazon. So, this is the total cost of a brand new basement farm!
The Design
A simple frame mounted on the pump would provide enough water to cover the square area of the bin.
These are simple drawings of the build. The unit (the pump and frame) is placed in the tote which will be filled with nutrient rich water constantly being recirculated.
Sorry, lost the picture in the migration. 😔 (was top down view)
The side profile shows the riser made to lift the frame approximately six inches to be closer to the lid and net pots. See below:
Sorry, lost the picture in the migration. 😔 (was side view)
The Build
The only two tools required are a power drill (plus, a Forstner bit with a little smaller diameter than the net pot themselves) and a PVC cutter.
Simply, cut holes in the lid in a two by four configuration. Keep the holes spread out as much as possible in order to maintain the integrity of the lid. Once the lid is holding plants, you do not want the weight to cause a collapse.
Tip: My unit is four by two by four. It turned out to be to cramped.
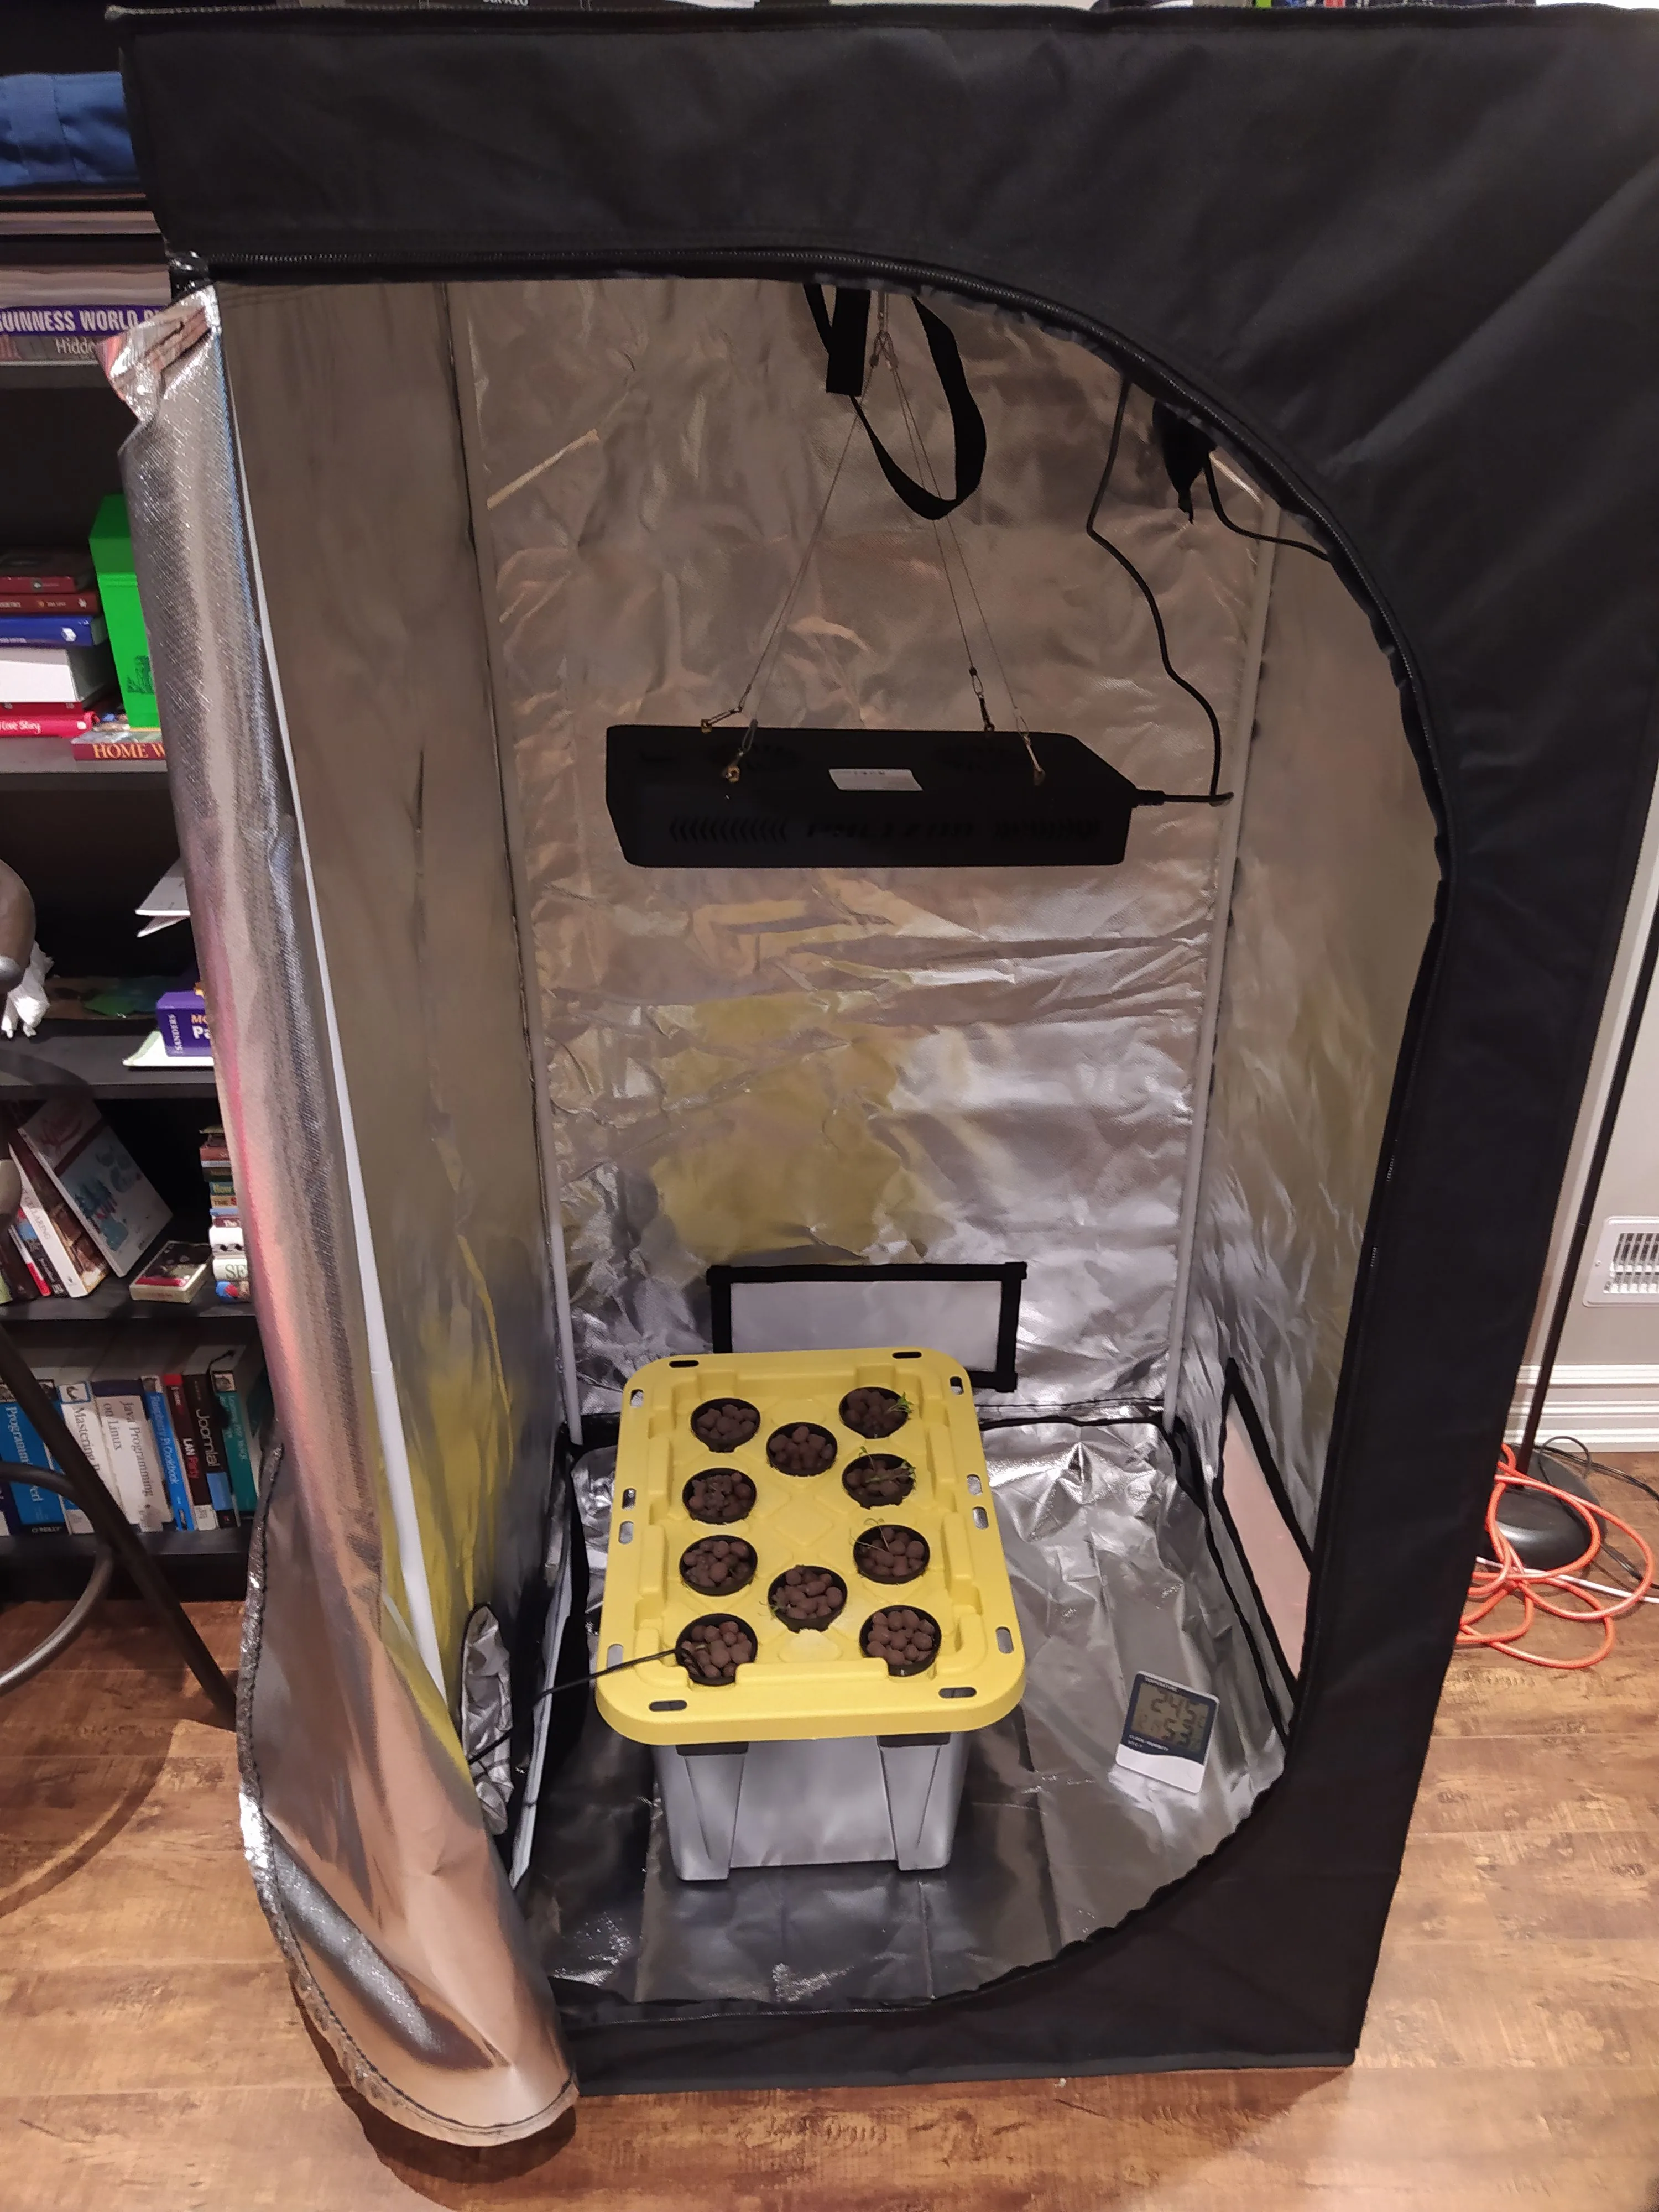
Construct the tent, set up the light, mount the fan and make a home for your little planties!
In order to maintain the simplicity of the project, I also ran the power cable through the net pot. Prepare this part by taking a net pot and cutting just enough of a slit to fit the pump power cable through.
Once the tote lid has been carved out and the net pots prepared, the build portion is complete.
Start the Seeds!
I am not going to go into seed germination and growing, but, this is where you start the seed. Grow the seeds in rock wool. Keep them watered and in light.
Once they are a few inches tall and have noticeable roots they will be ready for transplant.
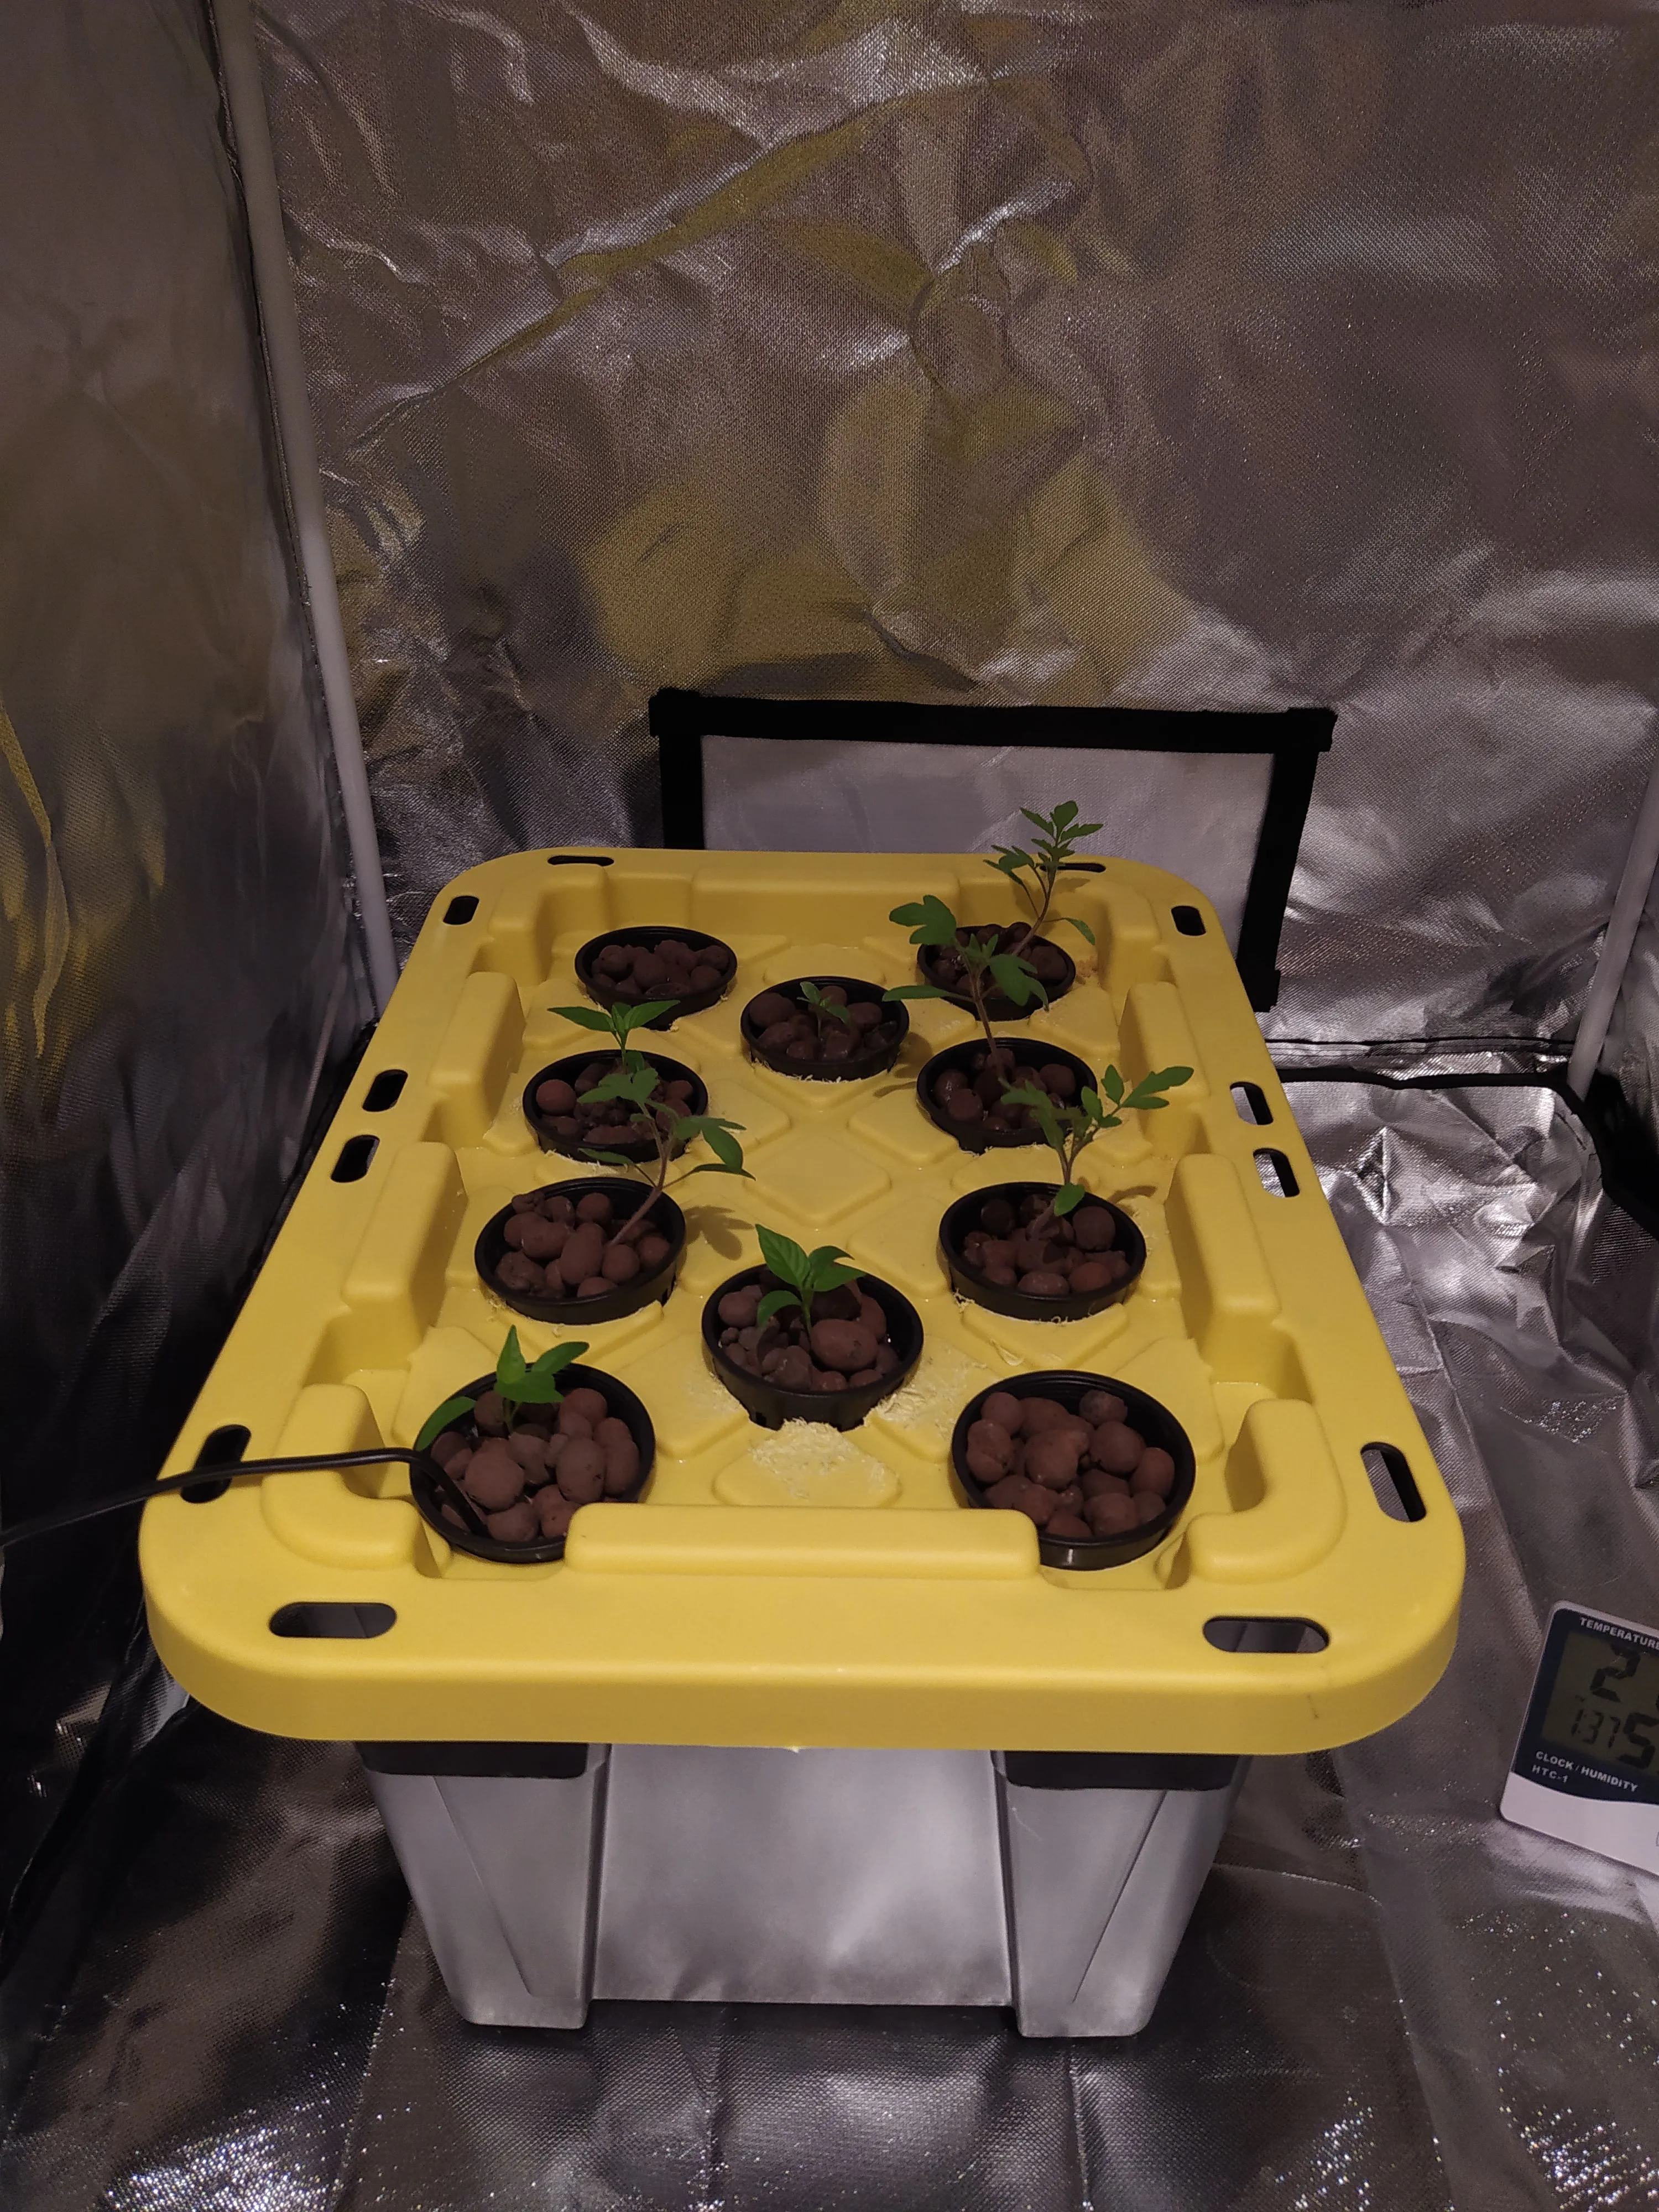
Place the rock wool seedlings into the net pots and fill the net pots with the prepared clay ball medium.
At this point, you should have something that looks like a space garden!
Keep the Plants Alive
The plants need food and water. I fill my bin in three gallon increments. I wish I remembered, but, I believe my initial fill was six gallons. Why this denomination? I have a one gallon carboy; it is the perfect size for water and nutrients mixtures. The nutrients I purchased come in three different solutions. Follow the instructions, it is very simple. There is little maintenance.
Light. To start, do not overwhelm the plants with light. I started the plants on an eight hour light cycle. Once, they were a little larger (you know, looked like a plant) I increased the time to a twelve hour cycle.
Water and Nutrients. The water schedule will be set to the same interval the entire life cycle of the plants; thirty minutes of rest and five minutes of pumping - all the time. As the days go by, I have been increasing the amount of nutrients to place in the water; follow the instructions on the label.
Fan. Keep a consistent air flow in the grow area. I have a fan mounted in the top right of the tent. This will keep the moisture down and prevent the air from becoming stagnant.
Maintenance
What do I do for the plants? All I do is refill the bin with nutrient rich water. As per the label instructions, I create my mix in the one gallon carboy and fill the bin back up. Over time, you will notice the water decrease faster, which makes sense as the plants consume more resources.
Tips
- Choose the proper plants for the space
- Have fun, don't stress
- Check your plants daily
- Keep the bin water height at a happy level (my water level never goes below one inch above the pump)
What I would do differently?
- No Tomatoes! They will run a rampage on your tent. Next time, I am picking more containable plants, maybe various lettuces, basil and more peppers.
- I would add a second bin to my tent. I have centered one bin, but I could have crammed a second bin in. This would have made it easier to maintain the crops as they wouldn't creep down the sides.
- Add a water spout. Instead of moving a net pot to fill the water, an easy to dump funnel would be useful.
- Add a water monitor. Same as the point above. A easy way to check the water level would be a major functional improvement.

- Maintain the plants. As this was a test project. I just let it grow.
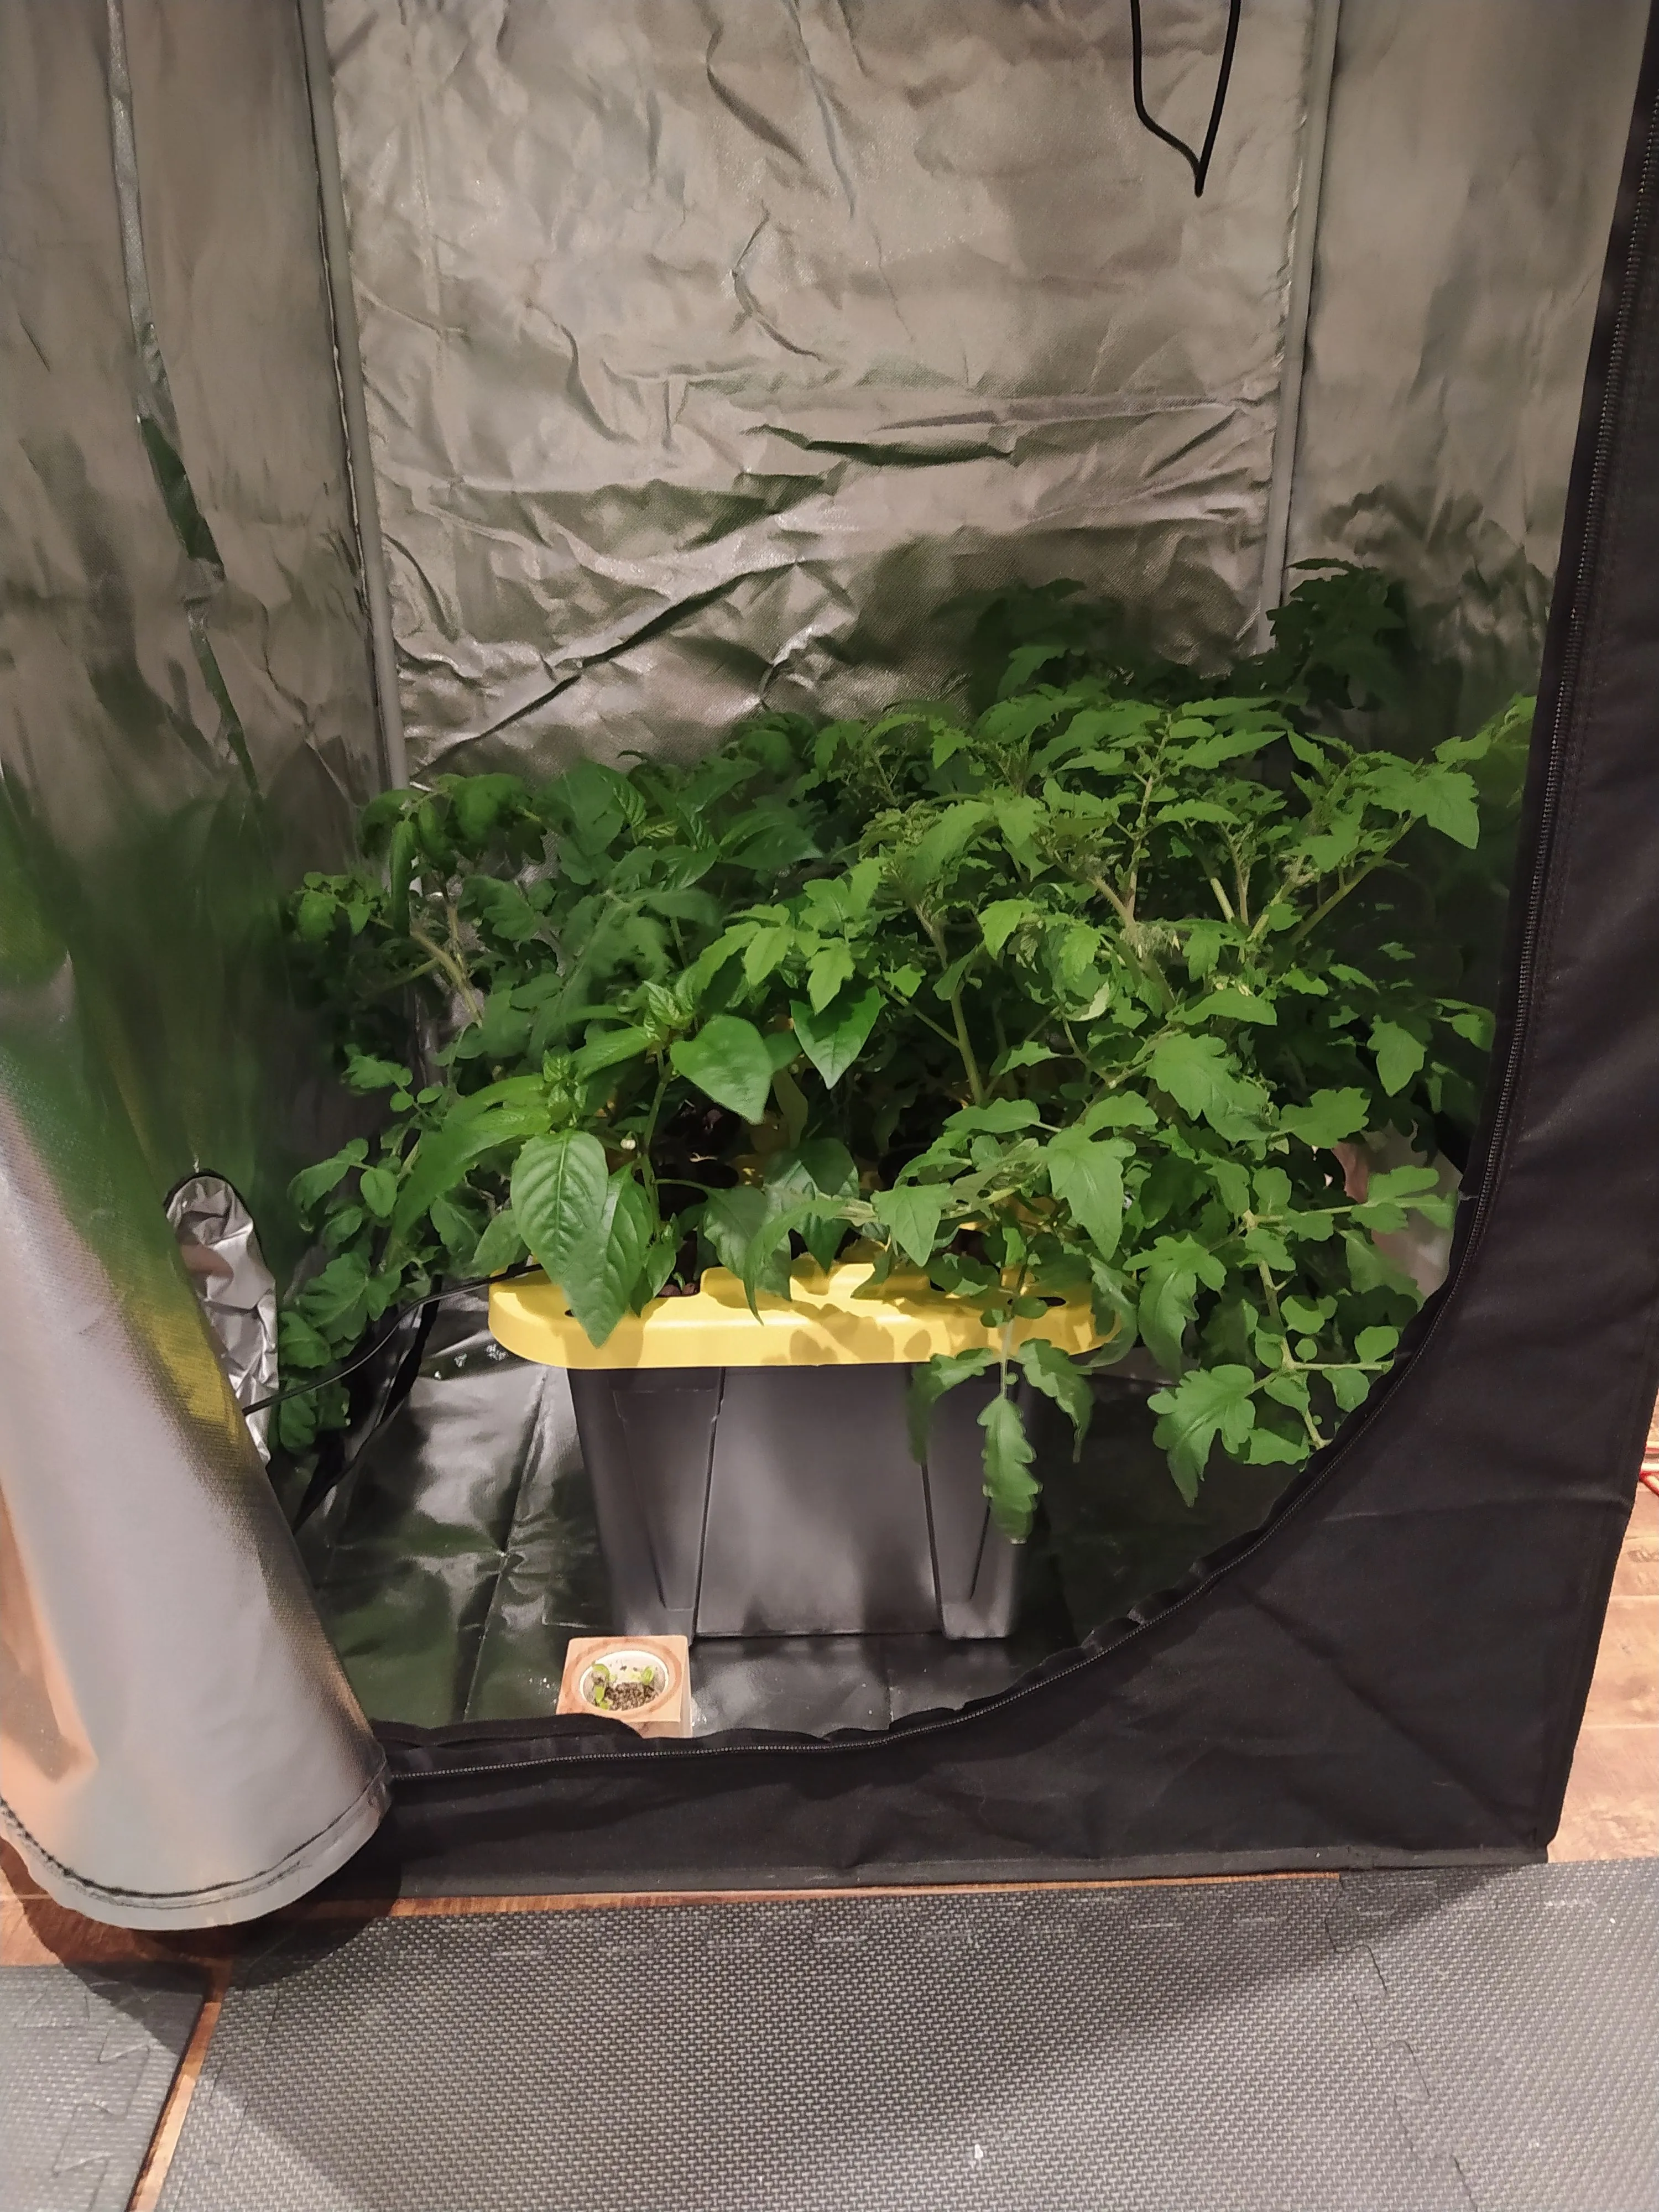
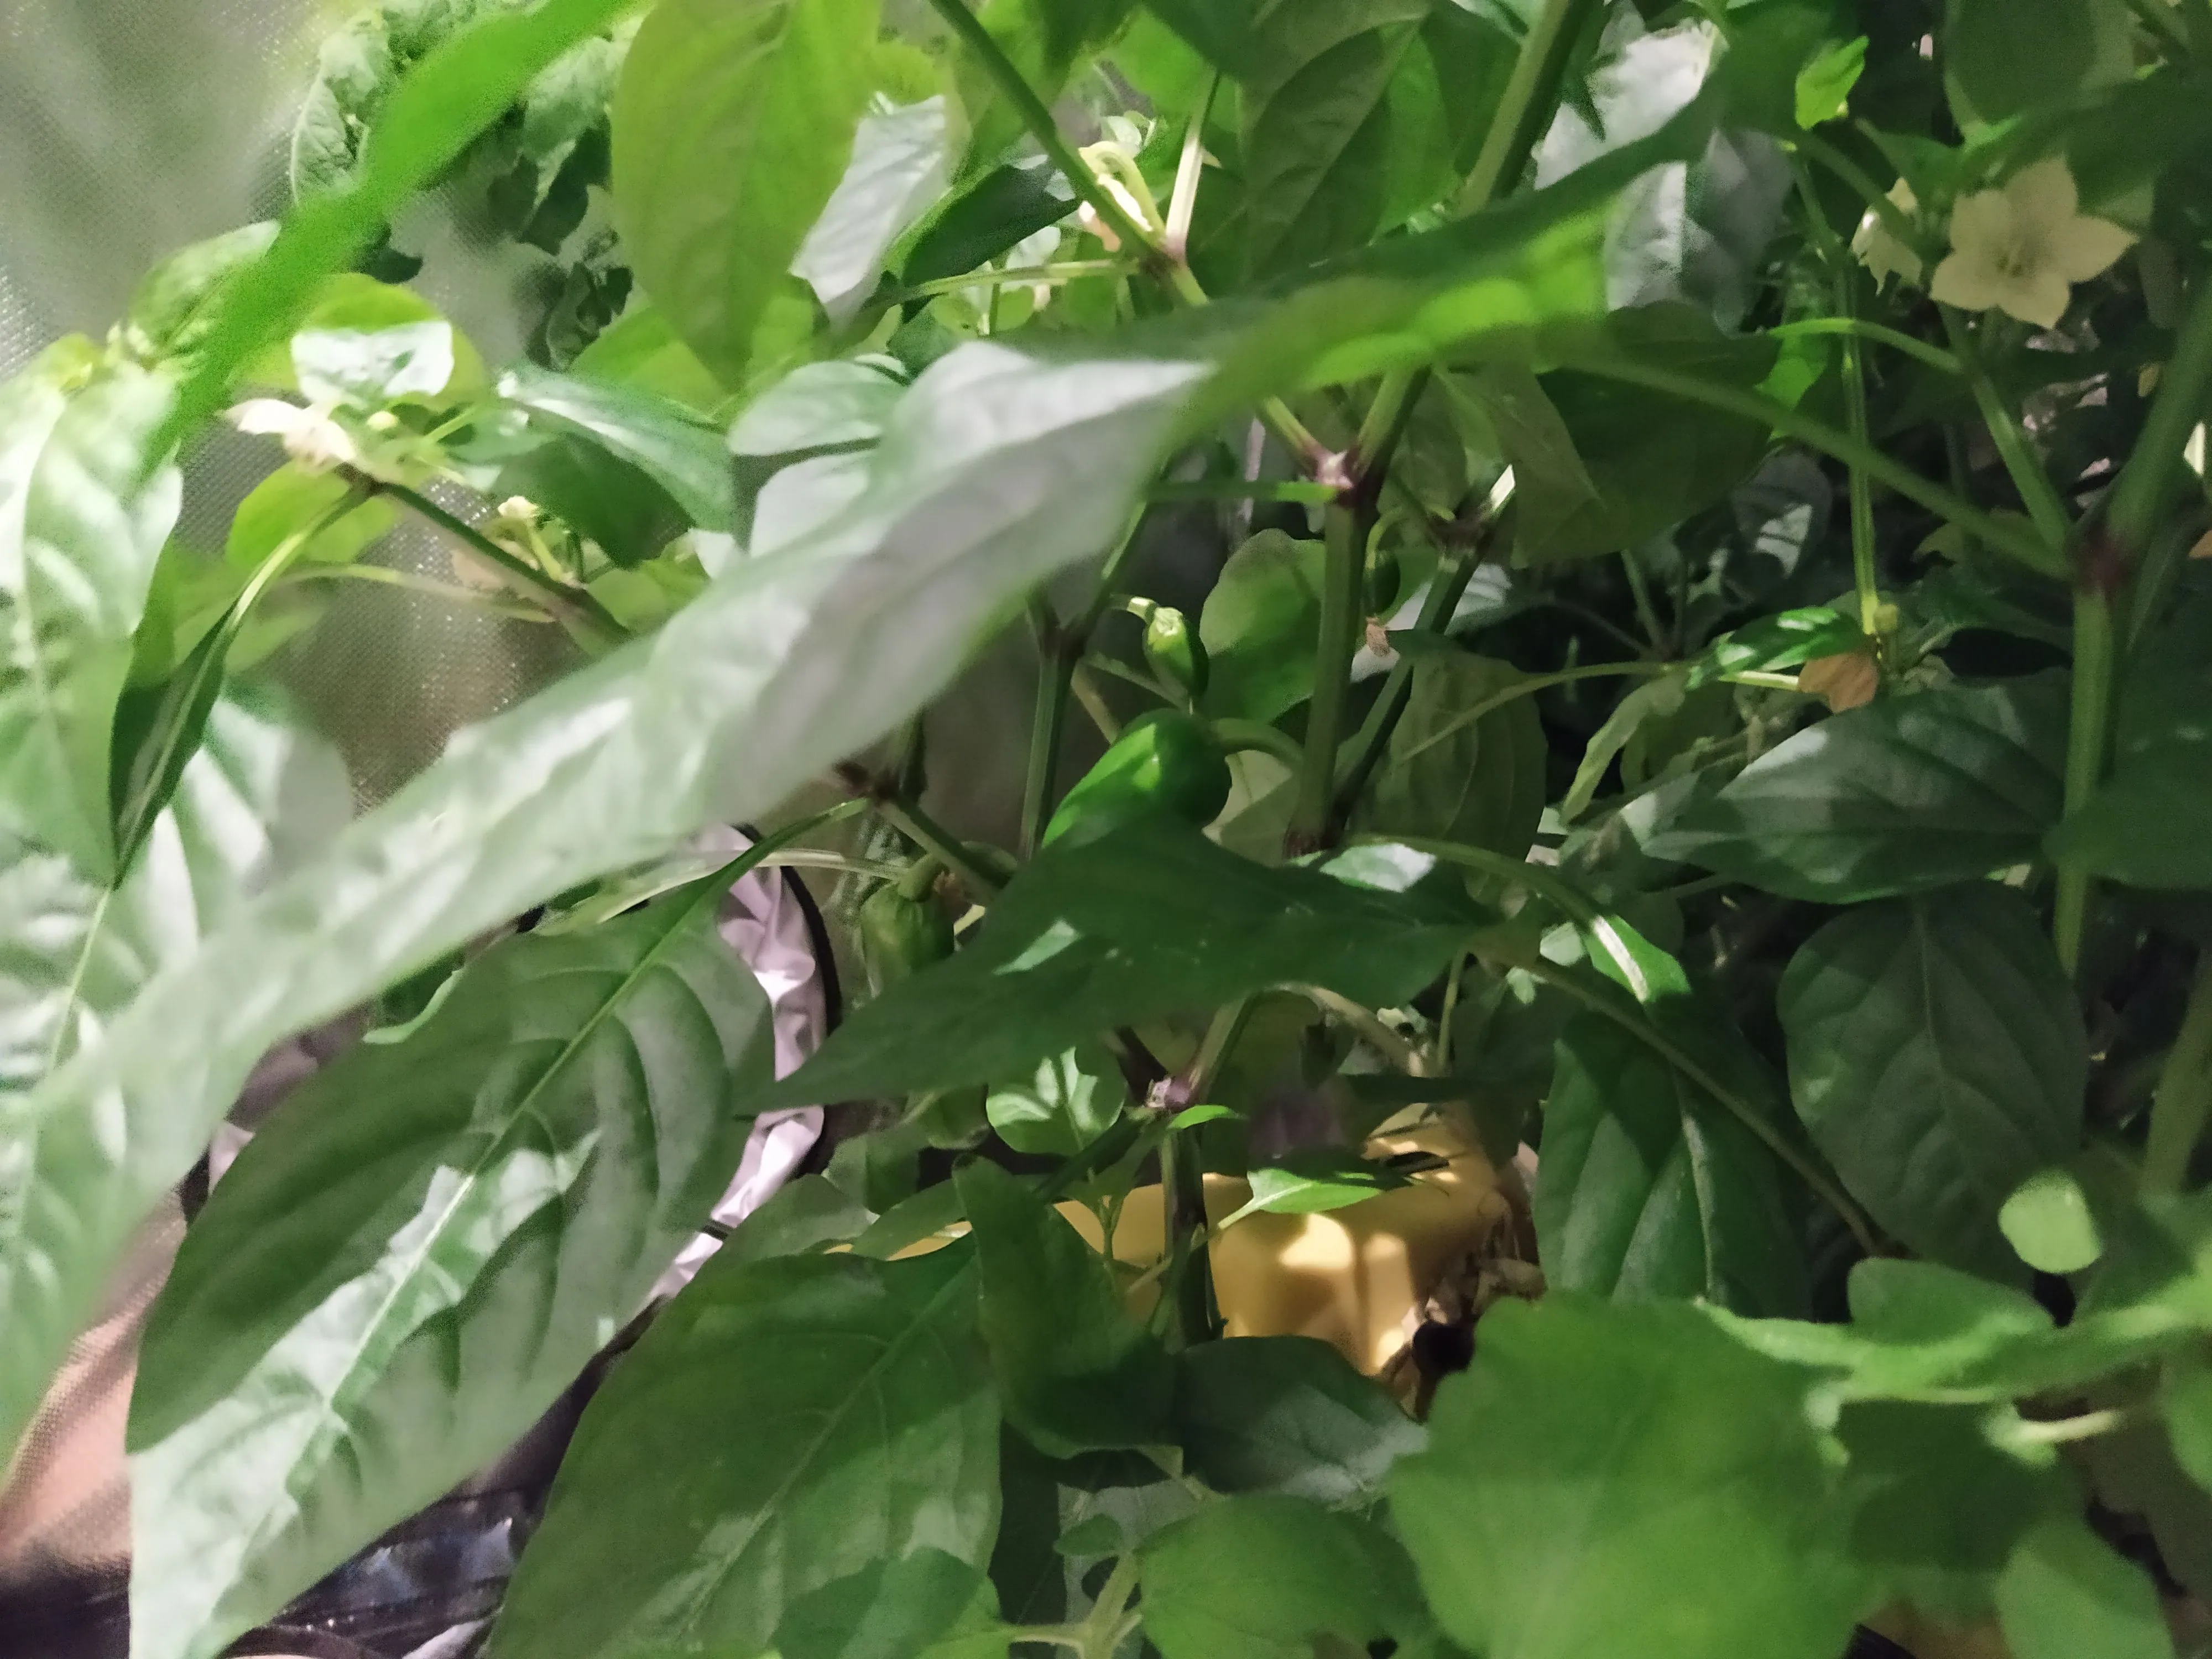
Where I'm at Now!
At Day 68, I have about eight peppers on two plants and six tomatoes on one plant. I finally tried to clean up the overgrowth and manage the plants. The larger plants have overgrown and are stifling the smaller plants. For lack of a better term, it is survival of the fittest, the smaller plants are being covered, leading to minimal growth.
Sneak Peek: I accidentally amputated a mini pepper. It was probably one of the juiciest peppers I have even eaten.
I ended up cutting down two tomato plants to the base. Three of the pepper plants are strong, one is still fairly small.
If anything positive came out of Covid-19, it is the fact that I will have vegetables that are grown out of my basement.
Will this pay off? Not immediately, however, with proper maintenance and management this could be a valuable venture. Even to start properly maintaining the plants, minimal change is required; an occasional trim and some growth supports (vertical sticks or strings).
Future Plans
The idea of monitoring and sensors comes into the play. For the next batch, I am considering adding a camera and some sensors to monitor humidity and temperature. I will then be able to track all the data ensuring a stable environment from a distance. We shall see where this goes...
One step at a time. Presently, I will continue to focus on the first harvest.
Thank you for reading this. I hope this information was valuable. Please let me know if you try this yourself and share the results!